Prerequisites
You will need:
- A valid domain name
- A VPS on a cloud Service Provider of your choice like Greenhost, Digital Ocean or even Linode Akamai
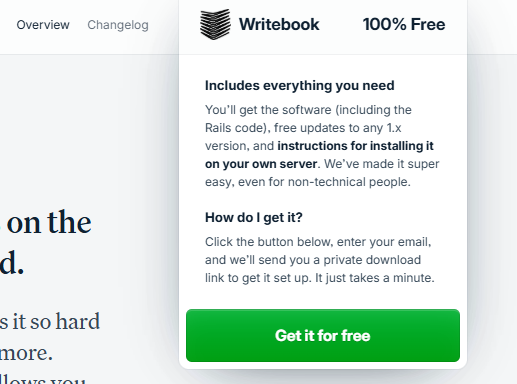
- Writebook license- you can get it directly for free from ONCE. The sign up email contains your unique link that handles all set up tasks.
Sign up for Digital Ocean
I made sure to grab the $200 free credit from Digital Ocean, should give me enough free compute that should easily last me 60 days for other random experiments on Digital Ocean as well.
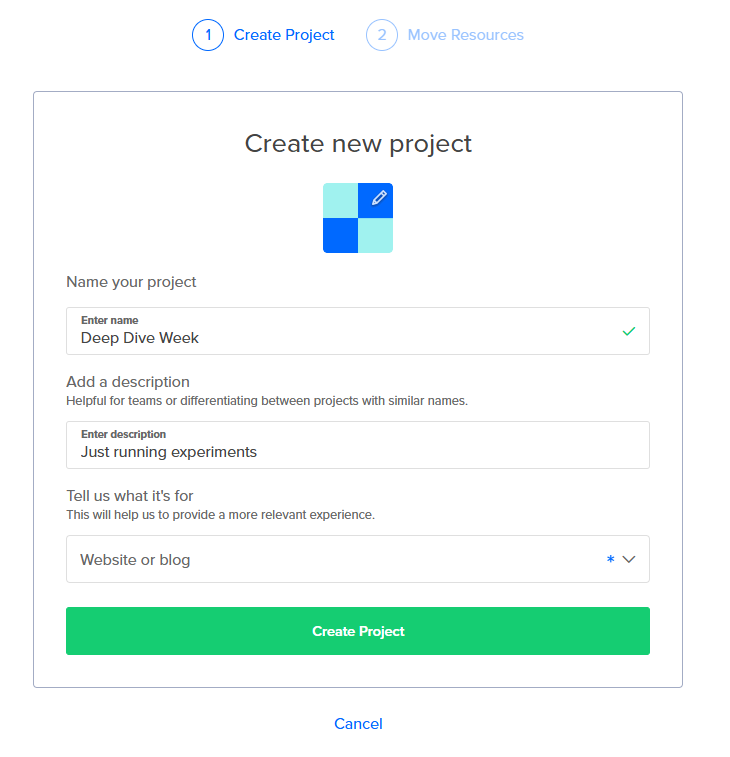
Creating a dedicated Project for my experiments
Entered the needed details on the Create Project modal and pressed the create button. Always great to create Projects to stay organized.
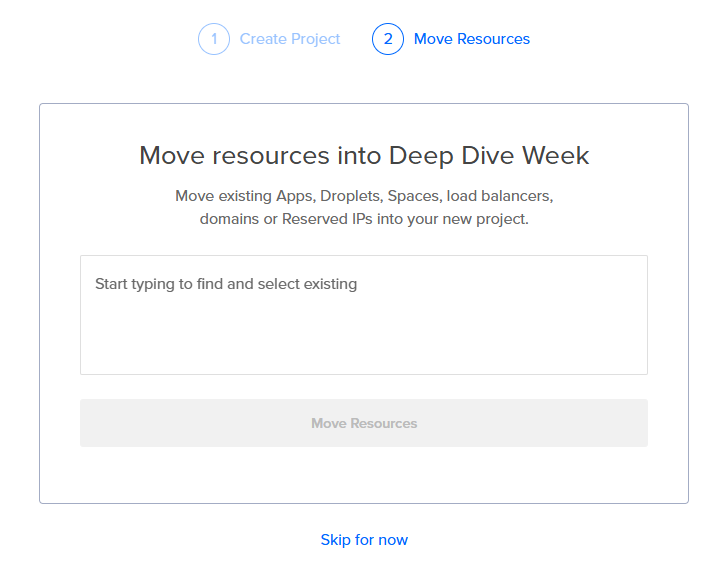
No need to move anything as I don’t have resources for now - so I skip this for now.
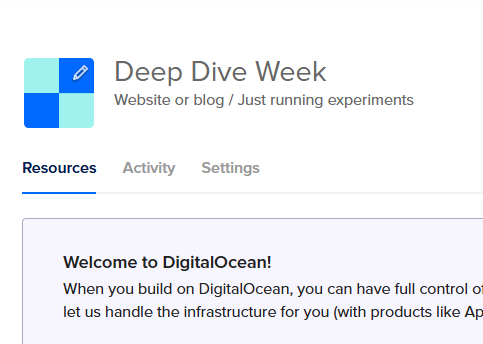
Our project is all set up now.
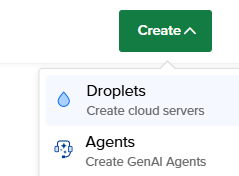
Creating a Droplet
At the top menu on Digital Ocean, simply, click on Create > Droplets
Choosing VPS Location
Now we have the modal that allows us to create a Droplet and the first thing we decide on is the location of our server - I went with Amsterdam - because GDPR!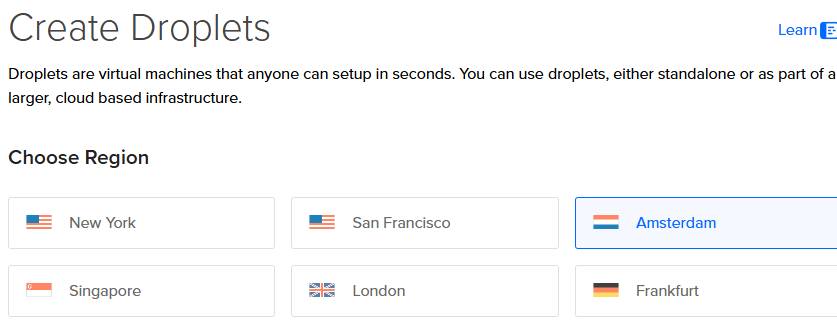
Choosing Datacenter
For Datacenter, we leave it as the default

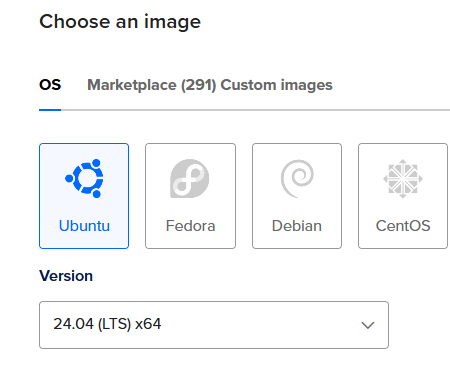
Choosing an Image for our VPS
Time to choose an image for our server - I have always been in love with using Ubuntu for production, so Ubuntu always. Always make sure to use LTS.
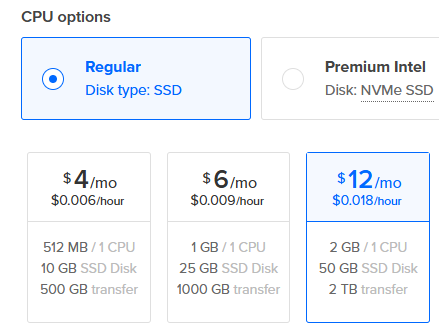
Selecting VPS Specs
Time to select specs for our server, we only need about 2GB RAM for our Writebook installation - and that is exactly what I will get to save on compute credits for more experiments.
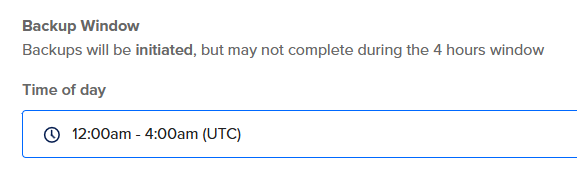
Configuring Backups
We want backups for our server, so we get some - I get the daily backups
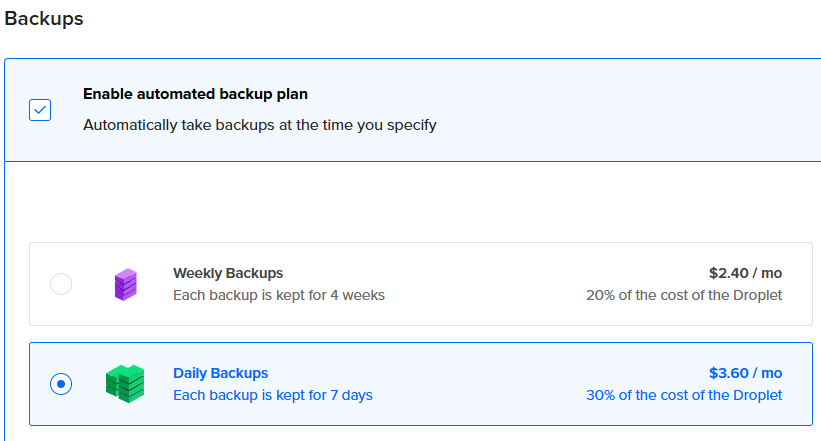
I want backups to happen when I am asleep!
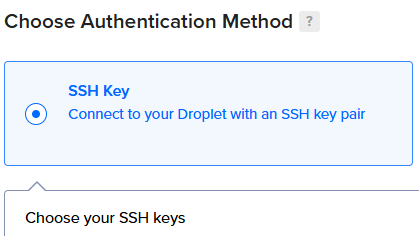
Configuring SSH
I set up the SSH key of my server and configure it on DO
Finalizing and Creating VPS
And we finalize details of the set up - we review key details then create the droplet
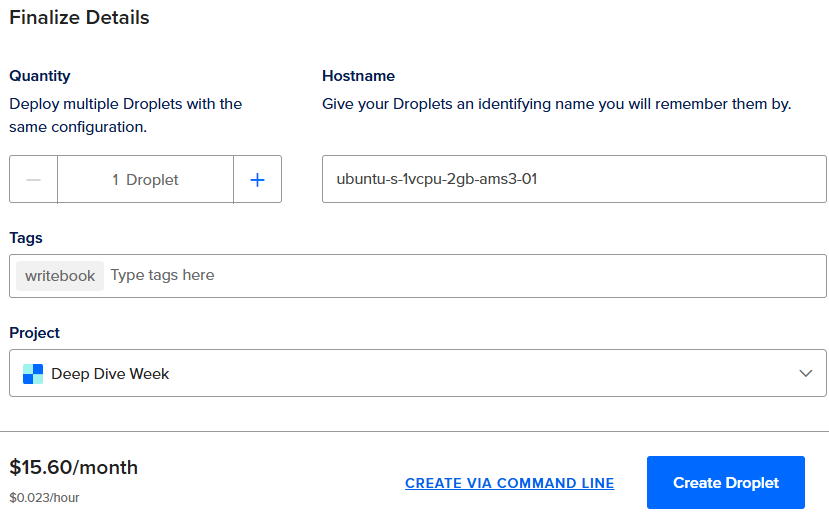
Once you click Create Droplet , the VPS will be set up with our configuration
VPS Created
Our VPS is now up and running - time to cook! 🧑🏾🍳

Domain set up
This is a crucial step - it’s important to set up your domain/sub-domain and directly link it to your VPS
This is quite a simple step, all you have to do is go over to where you usually manage your domain, could be Godaddy, Namecheap or even Squarespace. Sign in and look for a link to manage the domain.
Add A Record to point to your VPS
You need to add an A Record that points to the IP address of your VPS/Droplet - it will look something like this
manual.yourdomain.com | A | IP Address of your VPSAdding the domain to the VPS
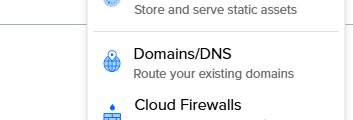
Now on Digital Ocean, you’re technically not done - you need to manually add the VPS to the domain - click on create > Domains/DNS
Then add the A record you chose/set up and make sure you select the right project
On the next page, Digital Ocean will generate Nameserver DNS details you should add to wherever you manage your DNS records.
That’s it! Now it’s time to go and set up Writebook in the VPS.
Setting up Writebook in VPS
SSH into VPS and run updates + updates
We can now SSH into our server!

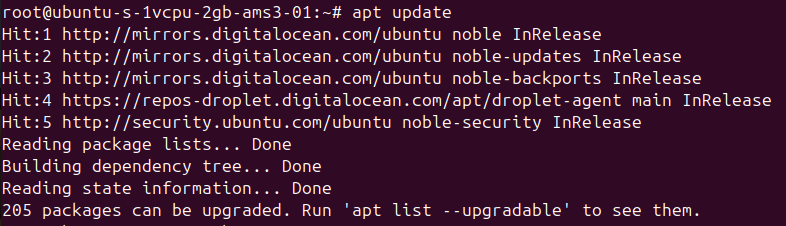
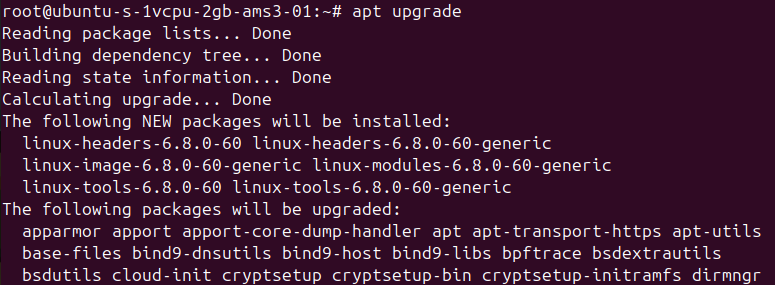
First things first, run some updates & upgrades
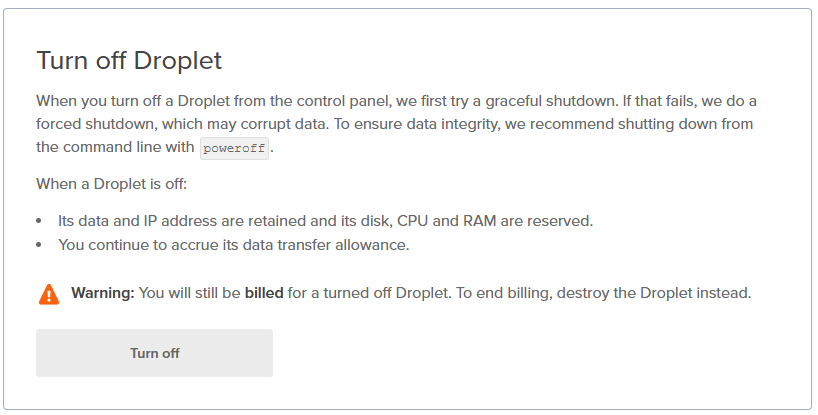
Let’s actually reboot our server
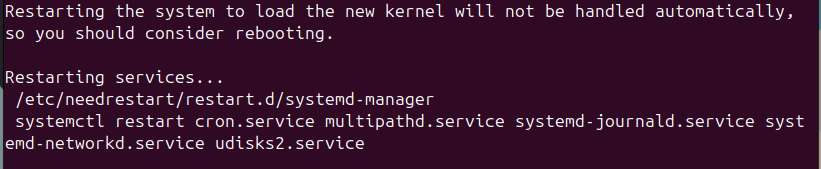
We do this via the UI (I do this on first reboots to allow me to track how long this process takes on average - I usually calculate time to live as a metric even on personal projects/experiments)
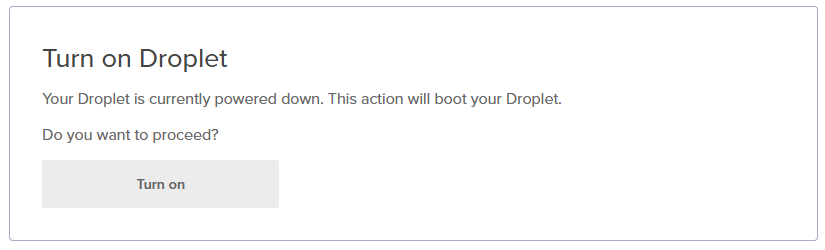
Now turn it back on again
Confirm we are up to date

Now let’s cook some more!
Configuring Writebook
First, as highlighted previously in the prerequisites, you need a licence to run Writebook - you can get it directly for free from ONCE
Go through the checkout process to completion - you will get a confirmation email
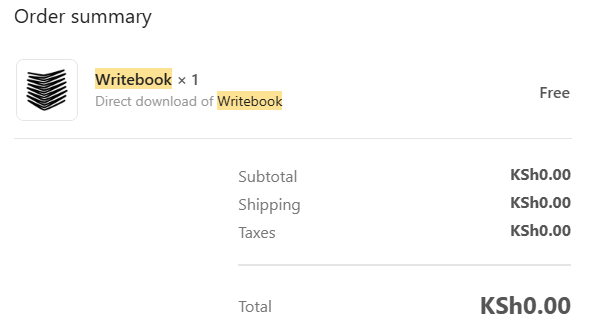
You will also get another follow up email with set up instructions - that breaks down how to set up
Now once we have our install link - simply go and ssh into server and paste the link
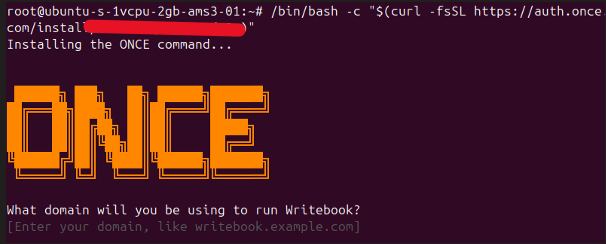
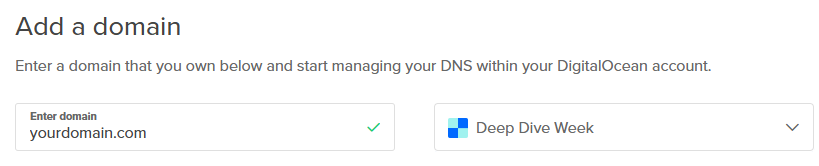
We enter the domain name we attached to our VPS
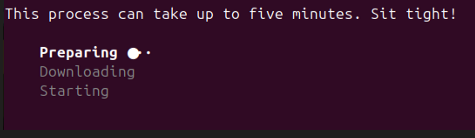
It will run to completion and tell us this!
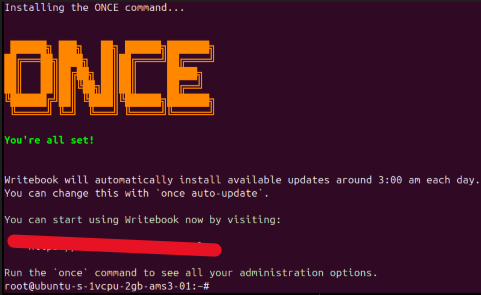
That’s it, job is finished!